

 English
 русский
 Español
AR-06 High-Performance Acetylene Regulator is designed as a pressure control device for industrial w...
See DetailsAcetylene Torch Set Up: A Complete Step-by-Step Guide for Safe Oxy-Fuel Work
Industry News-An oxy-acetylene torch is one of those tools that rewards patience. Set it up carefully and it will weld, braze, heat and cut for years with almost no drama. Rush the setup, skip a leak test, or guess at regulator pressures, and you are inviting the kind of accident that ends a working day in the worst possible way.
We have been building gas pressure regulators since 2007, and most of the questions we receive from welders, fabricators and maintenance crews come down to the same handful of details: which regulator goes on which cylinder, how much pressure is actually safe, and what order everything should happen in. This guide walks through the whole process in the order you would do it in a real workshop, from the moment you wheel the cylinders into position to the moment you shut the torch down and bleed the lines.
Cylinder preparation Regulator mounting Leak testing Pressure settings Lighting and shutdown
What Actually Goes Into an Acetylene Torch Set Up
Before you touch a wrench, it helps to know exactly what you are assembling. An oxy-acetylene outfit is a small gas delivery system, and every part of it exists for a reason. Skipping a component is not a shortcut; it is removing a layer of protection.
Fuel and oxygen cylinders
Acetylene arrives in a cylinder packed with a porous mass and acetone, which is why it must always be stored upright. Oxygen comes in its own high-pressure cylinder. They are never stored together in a closed cabinet, and they always travel with their valve caps on.
Two regulators
One acetylene regulator, one oxygen regulator. They are not interchangeable, and the acetylene unit uses a left-hand threaded inlet nut so it physically cannot be fitted to an oxygen cylinder by accident.
Hoses
Red for fuel gas, green or black for oxygen. Hose fittings follow the same left-hand rule for acetylene so the lines cannot be swapped at the torch.
Check valves and flashback arrestors
Mount them at the regulator outlet, at the torch inlet, or both. They stop a reverse flow of gas and shut down a flame that tries to travel back up the line.
Torch handle and attachment
A welding head for fusion work, or a cutting attachment with its own oxygen lever for severing plate. The cutting tip size must match the thickness of the metal.
Accessories worth having
A spark lighter rather than a cigarette lighter, a tip cleaner, a soapy water bottle for leak testing, a spanner that fits the regulator nuts, and a pair of tinted goggles or a face shield.
Safety Rules That Come Before Any Wrench Turns
Almost every serious oxy-fuel incident traces back to something that should have been handled in the first two minutes of the job. Split the checks into what you do before the torch is pressurised and what you watch for while it is lit.
Before you pressurise anything
- Work in a well-ventilated area, ideally outdoors or with the shop doors open.
- Keep oil, grease and hand cream away from oxygen fittings. Oxygen plus hydrocarbon plus a small ignition source is a fire waiting to happen.
- Chain or strap cylinders to a trolley or wall so they cannot be knocked over.
- Store acetylene and oxygen cylinders at least a few metres apart, and never inside a sealed cabinet.
- Check that hoses are not cracked, blistered or taped over. Replace rather than repair.
- Confirm the work area has no flammable material within spark range.
While the torch is lit
- Never let acetylene delivery pressure exceed 15 psi. Above that, acetylene becomes unstable and can decompose violently.
- Open the acetylene cylinder valve no more than one and a half turns, so it can be shut off fast in an emergency.
- Open the oxygen cylinder valve fully, so the valve seat is either fully open or fully closed.
- Never use a match or a disposable lighter. Use a spark lighter held to the side of the tip.
- Keep the tip pointed away from yourself, your hoses and anyone else in the shop.
- If you hear a pop or a whistle, shut both torch valves immediately and find out why before relighting.
Step-by-Step: Setting Up Your Acetylene Torch
This is the sequence we recommend to anyone assembling an outfit for the first time. Take it in order and do not skip ahead, even if the setup looks straightforward.
1
Inspect the cylinders
Look at the valve threads, the cylinder shoulder and the test date stamp. Check for dents, corrosion or a damaged valve outlet. If the acetylene cylinder has been lying down, stand it upright and let it settle before you use it, otherwise acetone can be drawn into the regulator.
2
Crack the cylinder valves
Briefly open each cylinder valve for a fraction of a second to blow out dust or grit from the outlet. Keep your face and hands clear of the venting gas, and never crack an acetylene valve near an ignition source.
3
Inspect the regulators
Check the inlet nut and nipple for damaged threads, and make sure both gauges read zero with the adjusting screw backed off. A delivery gauge that will not return to zero is a sign of a tired diaphragm spring and a regulator that should come off the job.
4
Fit the regulators
Thread the acetylene regulator onto the acetylene cylinder by hand first, then tighten with the correct spanner. Remember the left-hand thread: if it will not start easily, you are turning it the wrong way. Do the same for the oxygen side.
5
Install check valves and flashback arrestors
Fit them at the regulator outlets so they protect both the hose and the regulator. Check the arrow on the body points in the direction of gas flow, and never substitute a plain nipple for a proper arrestor.
6
Attach the hoses
Red hose to the fuel regulator, green or black to the oxygen regulator. Push the hose fully onto the nipple and tighten the hose clamp or nut. A loose hose is the single most common source of a leak on a new setup.
7
Connect the torch handle
Fuel hose to the left-hand fitting, oxygen hose to the right-hand fitting. Both torch valves should be closed before you connect anything.
8
Pressurise slowly and leak test
Open the acetylene cylinder valve a turn and a half, then open the oxygen valve fully. Brush soapy water over every joint, from the cylinder connection to the torch inlet. Bubbles mean a leak. Tighten, retest, and if it still bubbles, replace the part.
9
Set the working pressures
Open each torch valve in turn, adjust the regulator screw until the delivery gauge shows the pressure you need, then close the torch valve. The line is now charged and ready to purge.
10
Purge and light
Open the acetylene torch valve for a few seconds to clear air from the line, close it, then do the same on the oxygen side. Light the acetylene first, then bring in the oxygen and adjust until the flame is neutral.
Regulator Pressure Settings: Getting the Numbers Right
Pressure settings are not a matter of opinion. They follow the tip size and the job at hand, and they are always read from the delivery gauge with the torch valve open. As a starting point, most general welding work sits comfortably in the ranges below.
Two limits matter more than any table. Acetylene delivery pressure should never exceed 15 psi, and the withdrawal rate should stay within roughly one seventh of the cylinder capacity per hour. If a job needs more heat than that, use a larger tip or manifold several cylinders rather than pushing a single regulator harder.
| Task | Acetylene delivery | Oxygen delivery | Typical tip size |
|---|---|---|---|
| Welding sheet up to 2 mm | 3 to 5 psi | 5 to 8 psi | Size 0 to 1 |
| Welding 3 to 5 mm plate | 5 to 7 psi | 8 to 12 psi | Size 2 to 3 |
| Cutting 6 to 12 mm plate | 5 to 7 psi | 25 to 30 psi | Size 1 to 2 |
| Cutting 25 mm plate | 6 to 8 psi | 35 to 40 psi | Size 3 to 4 |
| Heating and bending | 8 to 10 psi | 15 to 25 psi | Heating nozzle |
Questions We Hear Most Often During Set Up
These are the points where people hesitate, and the answers are usually simpler than expected.
Should I open the acetylene cylinder valve all the way?
No. Open it about one and a half turns. That is enough flow for any normal torch and it lets you shut the fuel off in a single quick movement if something goes wrong.
Which torch valve opens first?
Acetylene always. You light the fuel gas first and then introduce oxygen. Shutting down is the reverse: fuel off first, then oxygen.
How long should I purge the lines?
Until you can smell or feel the gas at the tip, usually two to three seconds per line. Purging removes air that would otherwise make the first flame sputter or pop.
Can I use one regulator for both gases?
Never. The fittings are threaded differently and the internal materials are selected for the gas. An oxygen regulator on an acetylene cylinder is both illegal in most workplaces and genuinely dangerous.
Reading the Flame
Once the torch is lit, the flame itself tells you whether your pressure settings are right. There are three basic flame types, and each one has a job.
Carburising
A feathery, bushy inner cone with excess acetylene. Useful for some brazing and for surfacing work, but it adds carbon to steel and is rarely what you want for structural welding.
Neutral
A sharply defined inner cone with no feather. This is the flame for most welding, heating and cutting on mild steel, and the one you should aim to tune to on every job.
Oxidising
A shorter, hissing cone with excess oxygen. It burns hotter and is sometimes used on brass, but it will oxidise steel and should not be left running on a mild steel weld.
Shutting Down in the Right Order
Shutdown is the mirror image of setup, and the order matters just as much. Work through these steps every time, even for a two-minute job.
1. Close the torch valves
Acetylene torch valve first, then the oxygen torch valve. The flame goes out and the lines remain pressurised.
2. Close the cylinder valves
Acetylene cylinder valve, then the oxygen cylinder valve. The delivery gauges will fall as the pressure bleeds down.
3. Drain the lines
Open the torch valves one at a time to release the remaining gas, then close them again. This stops pressure sitting in the hoses between jobs.
4. Back off the regulator screws
Turn both adjusting screws anticlockwise until they feel loose. The diaphragm springs relax, and the regulators will be ready for an honest zero reading next time.
5. Coil and store
Hang the hoses in loose loops rather than kinking them, cap the cylinders if they are moving, and put the torch somewhere it will not be knocked off a bench.
Choosing an Acetylene Regulator That Matches Your Work
The torch only performs as well as the regulator feeding it. A regulator that drifts, creeps or cannot hold a steady delivery pressure will have you chasing the flame all day, and on thin material that means warping and inconsistent penetration.
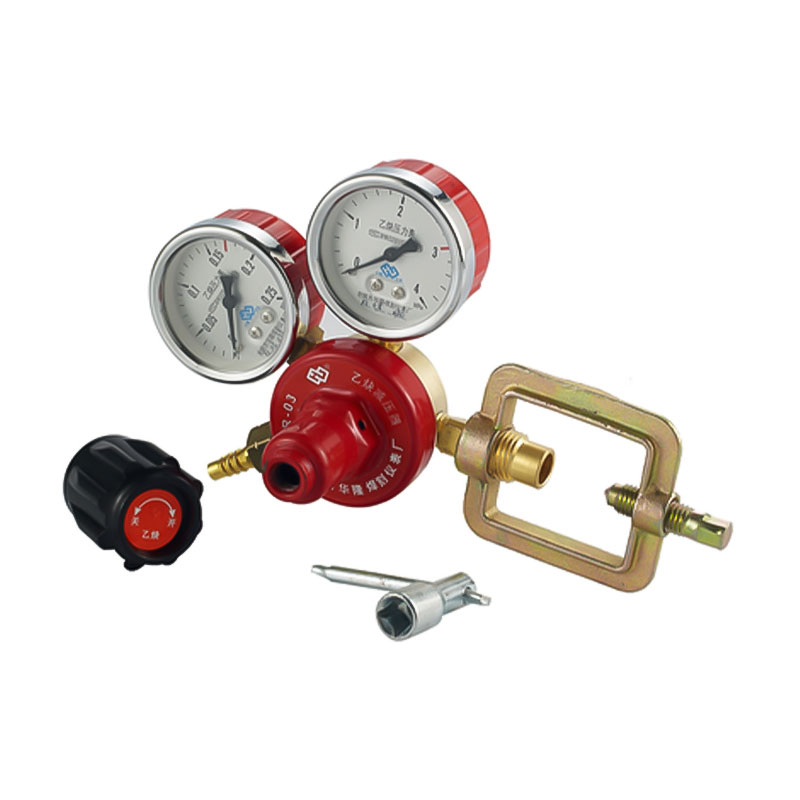 AR-03 High Precision Acetylene RegulatorFor bench work and thin-sheet welding, this acetylene regulator offers precise adjustment and stable low-pressure delivery to help avoid drift and inconsistent penetration.View Product →
For bench work, repair welding and anything on thin sheet, precision matters more than sheer flow. A regulator with a fine, predictable adjusting screw lets you hold a stable low delivery pressure without creeping upward as the cylinder warms. That kind of control is what separates a clean weld from a patchy one.
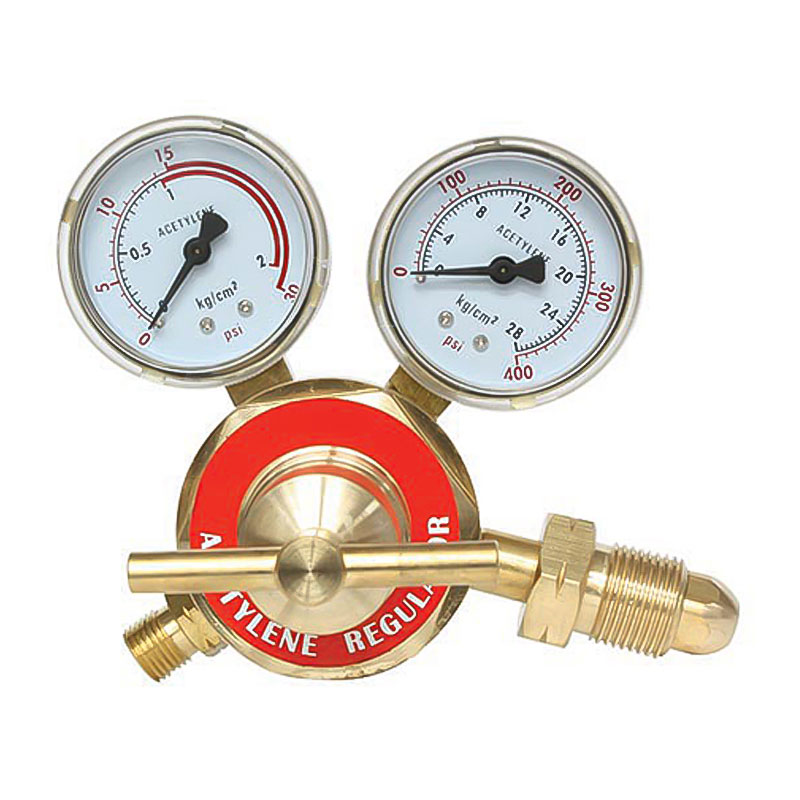 AR-66 Large-Flow Industrial Acetylene RegulatorFor thick plate and production cutting, this heavy-duty acetylene regulator is built to sustain large flow and stable output during extended, high-demand duty cycles.View Product →
Once you move to thick plate, heavy sections or production cutting, the picture changes. You need a regulator that can sustain a large flow without the delivery pressure sagging when the cutting lever is opened. Large-flow industrial units are built exactly for that continuous, high-demand duty cycle.
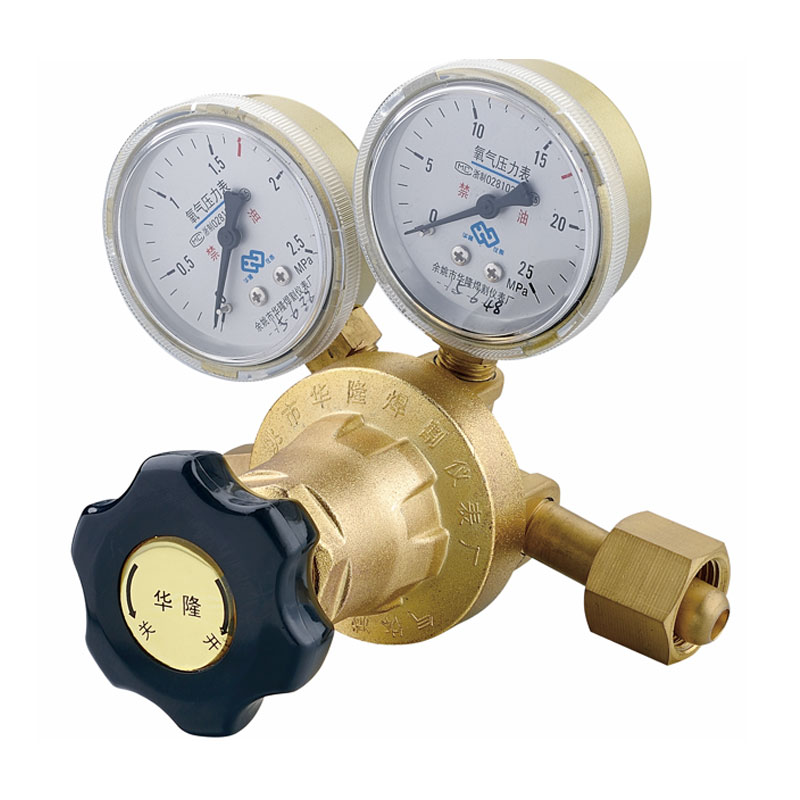 OR-16 High-Performance Continuous Supply Oxygen RegulatorPartnering with the acetylene regulator, this oxygen unit minimizes output pressure fluctuations to keep cutting oxygen steady and support cleaner edges during continuous industrial work.View Product →
Do not forget the oxygen side. The two regulators work as a pair, and an oxygen regulator that cannot keep up will starve the cutting jet even when the acetylene side is perfect. A continuous-supply oxygen regulator keeps the cutting oxygen steady through the whole pass, which means cleaner edges and less cleanup afterwards. If you want a deeper walkthrough of how to match a regulator to a specific gas, flow rate and duty cycle, our guide on choosing the right acetylene pressure regulator covers the selection criteria in more detail.
Mistakes That Show Up Again and Again
None of these are exotic. They are the small oversights that turn a routine setup into a repair job, or worse.
| Mistake | Why it matters | What to do instead |
|---|---|---|
| Skipping the leak test | A slow leak near the cylinder connection can fill a small shop with fuel gas | Soapy water on every joint before lighting, every single time |
| Setting pressure with the torch closed | The gauge reads static pressure, not working pressure, so the flame runs lean | Open the torch valve, then adjust the regulator |
| Over-tightening hose clamps | Cuts the hose wall and creates a leak that appears later | Tighten until snug, then check with soapy water |
| Mixing up the hoses | Fuel in the oxygen line can cause a flashback inside the torch | Follow the red for fuel, green or black for oxygen rule, and respect left-hand threads |
| Using a worn tip | Ragged flame, poor cut quality and uneven heat | Clean the tip with the proper cleaner and replace it when the orifice is oval |
| Leaving cylinders on a trolley unsecured | A falling cylinder can shear the valve and turn into a projectile | Chain the cylinders to the trolley or the wall before opening any valve |
Keeping the Outfit in Working Order
A few minutes of care between jobs adds years to the equipment and keeps the setup predictable.
- Store hoses coiled loosely, away from sunlight, oil and sharp edges.
- Check the regulator inlet filter occasionally; grit in the seat is a common cause of creeping delivery pressure.
- Replace hoses that show cracking, blistering or stiff patches rather than taping them.
- Have regulators serviced if the delivery gauge drifts with the adjusting screw untouched.
- Keep spare check valves and flashback arrestors on the shelf so a damaged one never tempts you to run without it.
- Record cylinder test dates and return anything overdue rather than using it.
Frequently Asked Questions
Can I set up an acetylene torch indoors?
Only in a well-ventilated space. Oxy-acetylene work produces fumes, and any leaking fuel gas will collect at low level. A garage with the door open is usually acceptable; a sealed room is not.
What pressure should the acetylene regulator be set to?
Between 3 and 7 psi for most welding, and up to 10 psi for heavier heating. It should never exceed 15 psi under any circumstances.
Do I really need flashback arrestors?
Yes. They are inexpensive and they are the last line of defence against a flame travelling back up the hose into the regulator and cylinder. Fit them at the regulator outlet as a minimum.
Why does my flame keep popping?
Usually air left in the lines, a tip that needs cleaning, or a delivery pressure set too low for the tip size. Purge the lines again, clean the tip, and recheck your pressures with the torch valve open.
How often should regulators be serviced?
For a busy shop, an annual inspection is reasonable. In lighter use, service on condition: any drifting gauge, leaking seat or stiff adjusting screw is a signal to have the unit looked at.
Can I leave the cylinders connected between jobs?
You can, provided both cylinder valves are closed, the lines are drained and the regulator screws are backed off. If the outfit will sit unused for weeks, disconnect the regulators and cap the cylinders.
Related products
-
-
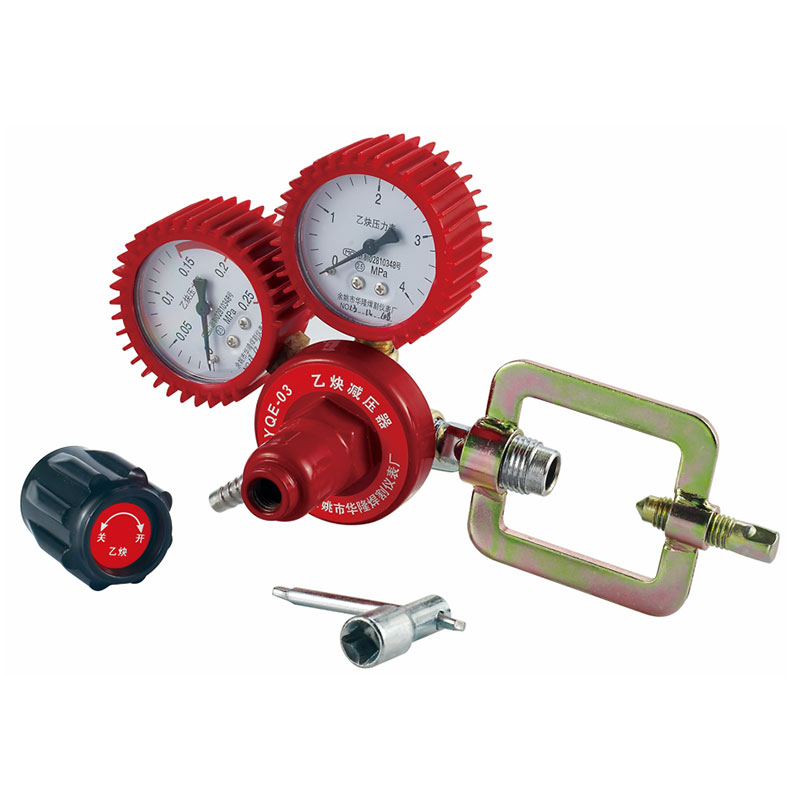
The AR-02 Acetylene Gas Regulator is a pressure control device designed for use with acetylene gas, ...
See Details -
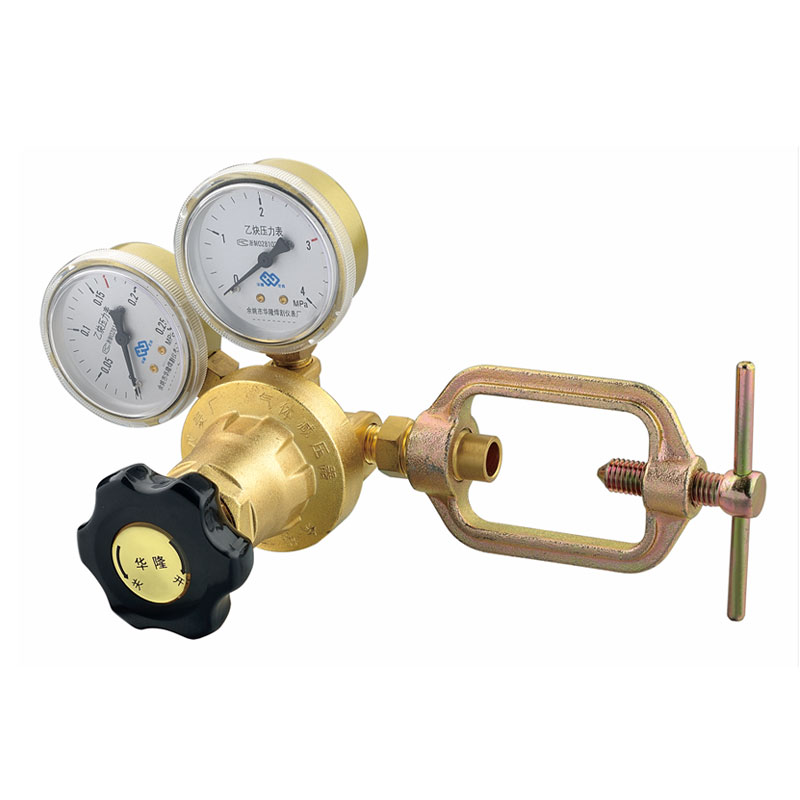
The AR-16 Acetylene Welding Regulator is a pressure control device designed for applications involvi...
See Details -
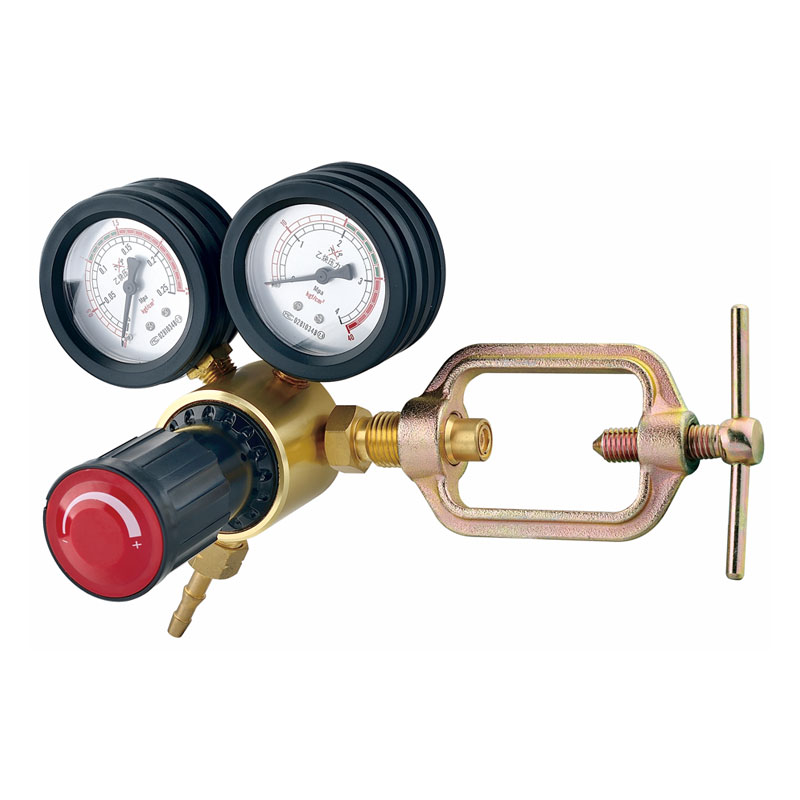
he AR-17 Durable Industrial Acetylene Regulator is specifically developed to meet the demanding requ...
See Details -
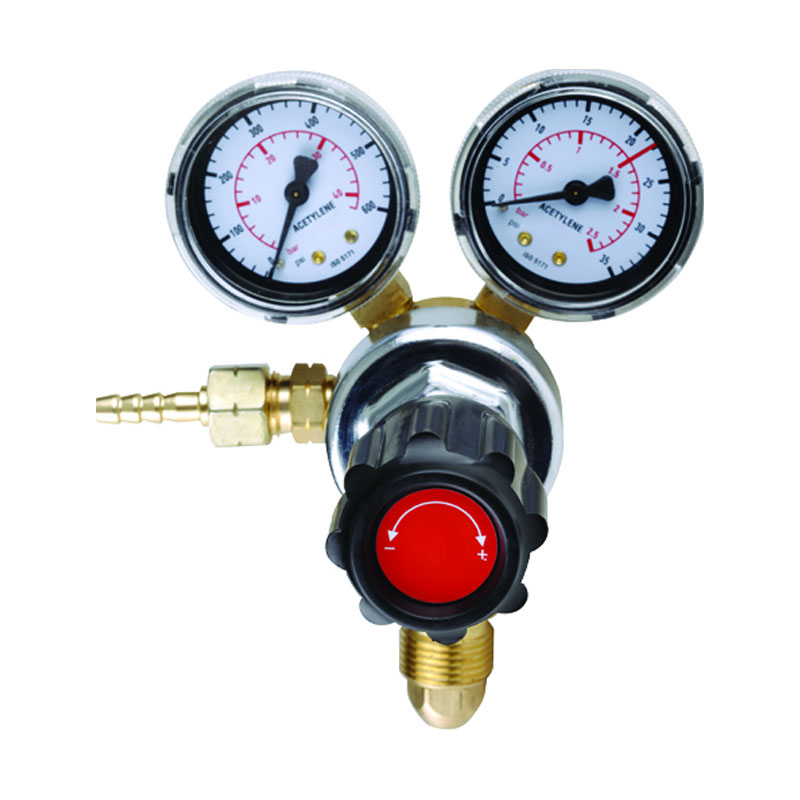
The AR-13 Precision Acetylene Output Regulator features a round-head G5/8" threaded inlet, ensuring ...
See Details -
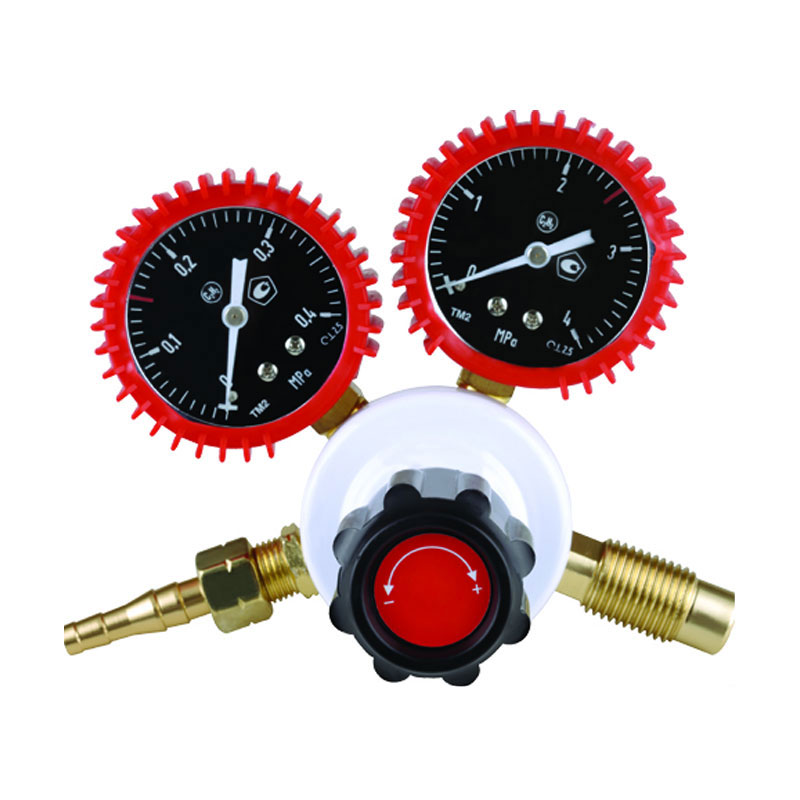
The AR-55 Wear-Resistant Industrial Acetylene Regulator is specifically designed for industrial weld...
See Details -
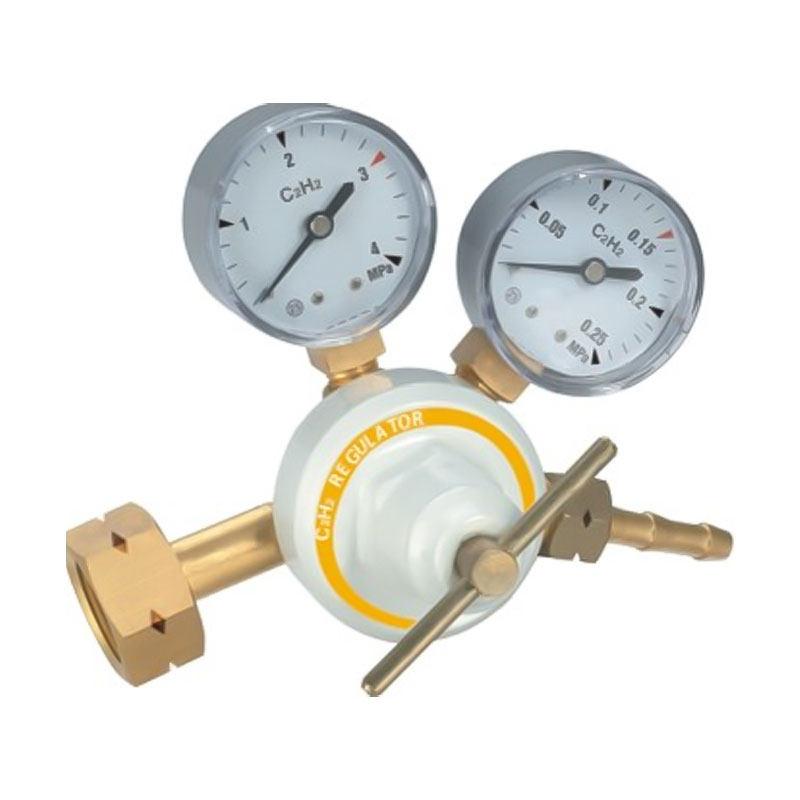
The AR-56 High-Stability Welding and Cutting Acetylene Regulator is designed with a focus on pressur...
See Details -
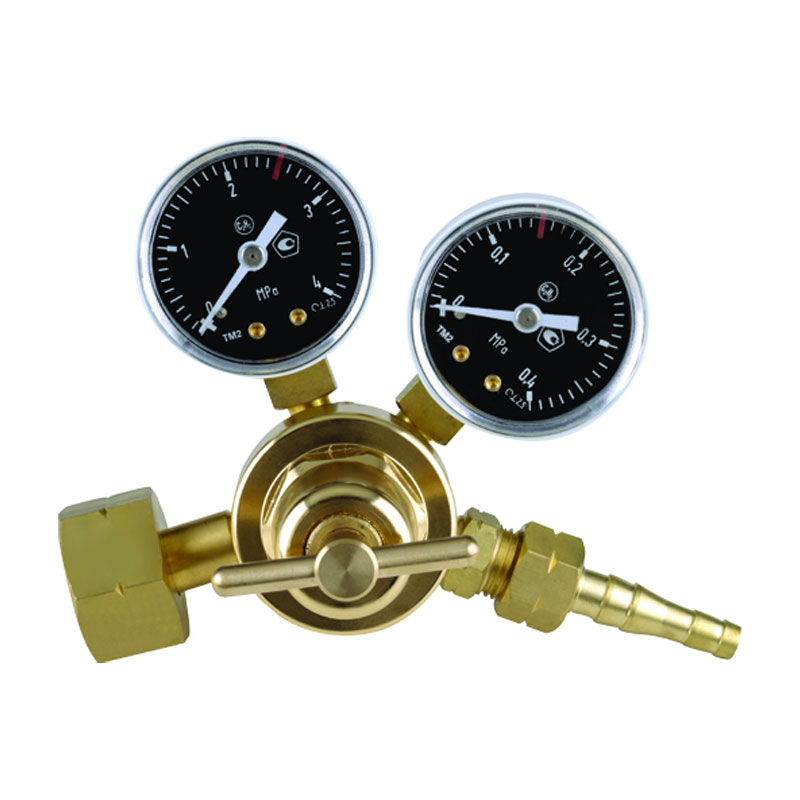
The AR-57 Heavy-Duty Industrial Acetylene Regulator is designed to handle high-intensity welding and...
See Details

- PRODUCTS
- Pressure Regulator for Welding and Cutting
- Aquarium Pressure Regulator
- Beer and Beverage Pressure Regulator
- Pipeline Pressure Reducer
- CONTACT INFO
-
-
+86-180 6927 8236

-
[email protected]

-
No.1358,Tanjialing West Road, Lanjiang Street,Yuyao, 315400, Zhejiang

-
- MOBILE QR CODE

