

 English
 русский
 Español
AR-06 High-Performance Acetylene Regulator is designed as a pressure control device for industrial w...
See DetailsAcetylene Torch Setup: Safe Steps for Regulators, Leak Testing, and Shutdown
Industry News-Workshop guide
An acetylene torch setup is not just a torch and two cylinders. It is a short, deliberate pressure-control system: acetylene provides the fuel, oxygen supports combustion, regulators reduce cylinder pressure to a workable level, hoses carry the gases, and flashback arrestors add a layer of protection. When the sequence is right, the torch lights predictably, the flame holds a clean cone, and shutdown is uneventful. When the sequence is rushed, the same equipment can pop, leak, or create a dangerous condition in seconds.
What you control
Delivery pressure at each regulator, gas flow at the torch, and the order in which every valve is opened or closed.
What you check
Cylinder security, fitting condition, hose integrity, leak points, regulator zero position, and a clear, ventilated work area.
What you never skip
Leak testing, flashback protection, lighting with a striker, and backing out regulator adjusting screws before a cylinder valve is opened.
Shop-floor rule: follow the torch manufacturer’s tip chart and regulator instructions for your exact equipment. The settings in this guide are practical starting points, not a substitute for the label on your machine.
What a Complete Acetylene Torch Setup Includes
People often say “acetylene torch” when they mean an oxygen-acetylene outfit. The distinction matters because the system has two gas paths that must remain separate until they meet at the torch. Acetylene is the fuel gas. Oxygen is the supporter of combustion. A cutting attachment adds a central oxygen jet, but the setup logic is the same: control both gases independently, then combine them only at the mixing point designed for that torch.
A complete setup usually includes an acetylene cylinder, an oxygen cylinder, one regulator for each gas, two hoses, flashback arrestors or check valves, a torch handle, a cutting attachment or welding tip, and a spark lighter. A leak-detection solution, a clean lint-free cloth, and the correct wrench belong beside the kit, not in a drawer across the shop. If you are mapping the hardware, our own acetylene pressure regulator range shows how regulators are grouped by body style, inlet connection, and delivery range.
1. Cylinders and cylinder valves
Acetylene and oxygen cylinders must stand upright and be secured. Keep caps on until the cylinders are in use. A damaged valve or outlet is a stop-work condition, not a “be careful” condition.
2. Regulators
The acetylene regulator and oxygen regulator are not interchangeable. Fittings, pressure ranges, and internal materials are selected for the gas and the application.
3. Hoses
Use hose rated for the gas and the pressure. Keep them free of cuts, burns, and flattened sections, and route them away from hot work and traffic.
4. Flashback arrestors
Fit arrestors at the regulator outlets, the torch inlets, or both, according to your equipment and local requirements. They are a safety layer, not a substitute for correct sequencing.
5. Torch and tip
Match the tip to the metal thickness and operation. A dirty or damaged tip can disturb the flame even when the regulators are set correctly.
6. Ignition and shutdown tools
Use a striker. Keep a suitable fire extinguisher nearby. Know where both cylinder valves are, and make sure you can reach them without leaning across the work.
Before You Open a Valve: Cylinder and Workspace Checks
The best time to find a problem is before the torch is lit. A two-minute inspection at the start of the job is faster than a mid-task leak, a regulator rebuild, or an emergency shutdown. Work through the cylinder checks and the workspace checks separately; they answer different questions.
Cylinder checks
- Confirm the cylinder is upright, secured to a cart, wall, or rack, and cannot roll.
- Check that the cylinder valve and outlet are clean and undamaged.
- Keep oil, grease, and oily rags away from oxygen equipment.
- Verify that both regulator adjusting screws are backed out before opening any cylinder valve.
- Check that the regulator, hose, and torch connections match the gas. Do not force a fitting.
Workspace checks
- Remove combustible material from the work zone and protect nearby surfaces from sparks and slag.
- Work in a ventilated area. Do not use the torch in a confined space without a proper procedure and monitoring.
- Keep a suitable fire extinguisher within reach and know how to use it.
- Route hoses where they will not be stepped on, run over, or exposed to hot metal.
- Keep bystanders clear of the cutting path and the cylinder area.
0 psi
Regulator screws backed out before a cylinder valve opens.
1/2 turn
A common acetylene cylinder valve opening limit, so it can be closed quickly.
15 psi
A practical ceiling for acetylene delivery pressure; never exceed the equipment limit.
Regulators: The Pressure Control Heart of the Setup
A regulator takes high cylinder pressure and reduces it to a stable working pressure. The low-pressure gauge tells you what the torch will see. The high-pressure gauge tells you what remains in the cylinder. Before the cylinder valve opens, the adjusting screw should be loose, so the regulator is not trying to deliver pressure while you are connecting or checking the system.
Open the cylinder valve slowly. For acetylene, a common practice is to open no more than about one-half turn so the valve can be closed quickly in an emergency. For oxygen, open the cylinder valve fully according to the manufacturer’s instructions. Watch the high-pressure gauge, listen for leaks, and stop if the needle climbs in an unexpected way. If you are comparing regulator styles and delivery ranges, this guide on how to choose the right acetylene pressure regulator walks through the practical differences.
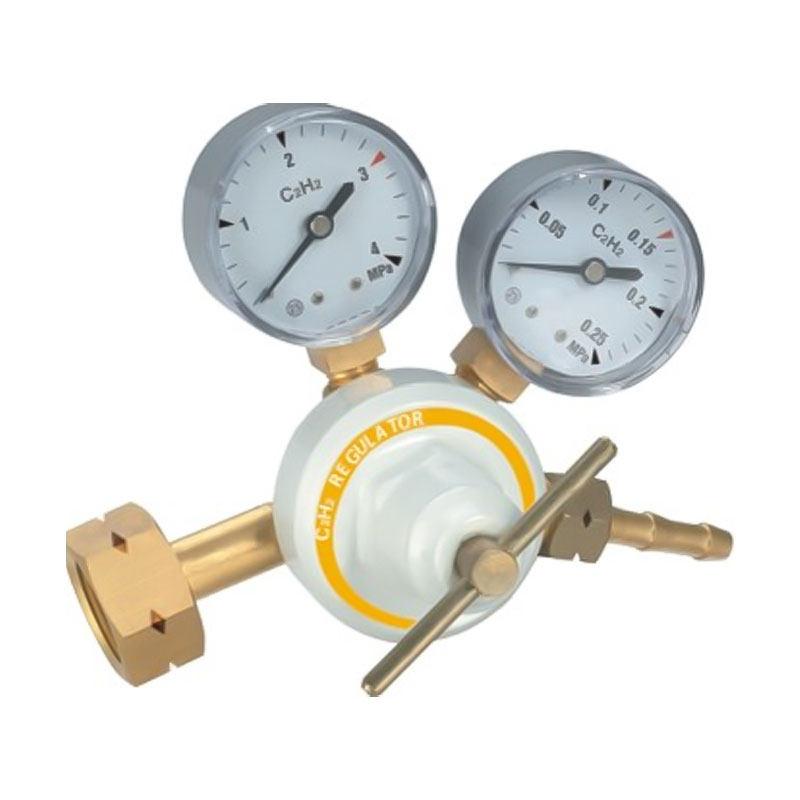 AR-56 High-Stability Acetylene Welding and Cutting RegulatorFor a busy bench, this acetylene regulator is built for steady delivery pressure and repeatable shop use, with G5/8 inlet and all-copper or economical options.View Product →
For a busy welding bench, stability matters as much as range. A regulator that holds a steady delivery pressure lets you set the flame once and keep working, instead of chasing the adjusting screw between cuts. The AR56 is designed around that high-stability welding-and-cutting role, with a body and controls intended for repeatable shop use.
Pressure relationship at a glance
Illustrative only: the cylinder gauge reads much higher than the working gauge. Actual values depend on gas, cylinder temperature, and equipment.
Cylinder pressure
High
Acetylene delivery
Low, controlled
Oxygen delivery
Job-specific
Hoses, Flashback Arrestors, and Torch Connections
Hose connections are where small mistakes become persistent leaks. Use the correct hose for each gas, confirm the fittings are clean, and tighten them with the proper wrench. Do not use pliers to force a fitting, and do not use thread tape on flare or metal-to-metal seat connections. If a sealant is specified by the manufacturer, use only the approved product.
Inspect first
Run your hand along each hose. Look for cracks, burns, soft spots, and exposed reinforcement. Check that the hose grade and color code match your regional standard.
Fit the arrestors
Install flashback arrestors in the direction marked on the body. A reversed arrestor can restrict flow or fail to protect the system.
Connect by gas
Connect the acetylene hose to the acetylene regulator and torch inlet. Connect the oxygen hose to the oxygen regulator and torch inlet. Where left-hand threads are used for fuel gas, do not force them.
Leak test
Pressurize the system with the torch valves closed. Apply an approved leak-detection solution to each connection and watch for bubbles. Never use a flame to look for a leak.
Protect the route
Keep hoses off sharp edges and away from hot work. Support them so the weight is not hanging on the regulator outlet.
Step-by-Step Acetylene Torch Setup
This sequence assumes the equipment is in good condition and the operator has been trained for the torch being used. If any step feels wrong, stop and correct it before moving on. A safe setup is not a race.
- Secure the cylinders. Stand them upright and tie them off. Remove protective caps only when the regulators are ready to be fitted.
- Check the regulators. Confirm the adjusting screws are backed out and the gauges read zero. Inspect the inlet nipples and outlet threads for damage.
- Attach the regulators. Fit the acetylene regulator to the acetylene cylinder and the oxygen regulator to the oxygen cylinder. Tighten the inlet nut according to the manufacturer’s instructions. Do not use oil on oxygen connections.
- Connect the hoses and arrestors. Match each hose to its gas. Fit flashback arrestors at the regulator outlets or torch inlets as required. Tighten the fittings without over-torquing.
- Leak test the system. Open each cylinder valve slowly, with the torch valves closed. Check every connection with an approved leak-detection solution. If bubbles appear, close the valve, relieve pressure, correct the joint, and test again.
- Set the acetylene delivery pressure. Open the acetylene cylinder valve no more than about one-half turn. Turn the acetylene regulator screw in slowly until the low-pressure gauge reaches the starting pressure for the operation. For many light welding and brazing jobs, 5 to 7 psi is a common starting point, but the torch chart takes precedence.
- Set the oxygen delivery pressure. Open the oxygen cylinder valve fully according to the manufacturer’s instructions. Adjust the oxygen regulator to the pressure recommended for the tip and operation.
- Purge each line separately. With the torch valves closed and the regulators set, briefly open the acetylene torch valve to purge air from the acetylene line, then close it. Repeat for oxygen. Do not purge both gases at once, and do not purge near an ignition source.
- Recheck for leaks and zero the work area. Confirm the torch valves are closed, the hoses are clear, and the work area is ready. Put on the correct eye protection and gloves.
- Light with a striker. Open the acetylene torch valve slightly, light the gas at the tip with a striker, then bring in oxygen gradually. Never use matches, a cigarette lighter, or a hot piece of metal.
If you smell gas before lighting: close the cylinder valves, ventilate the area, and find the source. Do not test with a flame. Do not restart until the leak is repaired and the system passes a leak check.
Dialing In Pressure and Flame
There is no single pressure setting for every acetylene torch. Tip size, metal thickness, torch design, hose length, and the work being done all change the recommendation. Use the torch manufacturer’s chart first, then adjust within the safe range. Acetylene delivery pressure should never exceed the regulator and equipment limit; in practice, many shop procedures cap it at 15 psi or lower.
| Operation | Acetylene delivery | Oxygen delivery | Practical note |
|---|---|---|---|
| Light welding or brazing | 3-5 psi | 5-7 psi | Small tip; start with a neutral flame. |
| General welding | 5-7 psi | 7-10 psi | Keep acetylene well below the equipment limit. |
| Cutting up to 1 in | 7-10 psi | 20-30 psi | Preheat with a neutral flame before opening the cutting oxygen. |
| Heavy cutting, 1-2 in | 10-15 psi | 30-40 psi | Use the tip chart; do not push acetylene beyond its safe limit. |
Once the gas is lit, the flame tells you what the mixture is doing. A carburizing flame has an excess of acetylene and shows a feathery inner cone. A neutral flame has a sharp, rounded inner cone and is the usual starting point for steel welding and cutting. An oxidizing flame has a shorter, pointed inner cone and is used only for specific applications where the procedure calls for it. For general cutting, set a neutral preheat flame, then open the cutting oxygen lever only when the metal is at the right temperature.
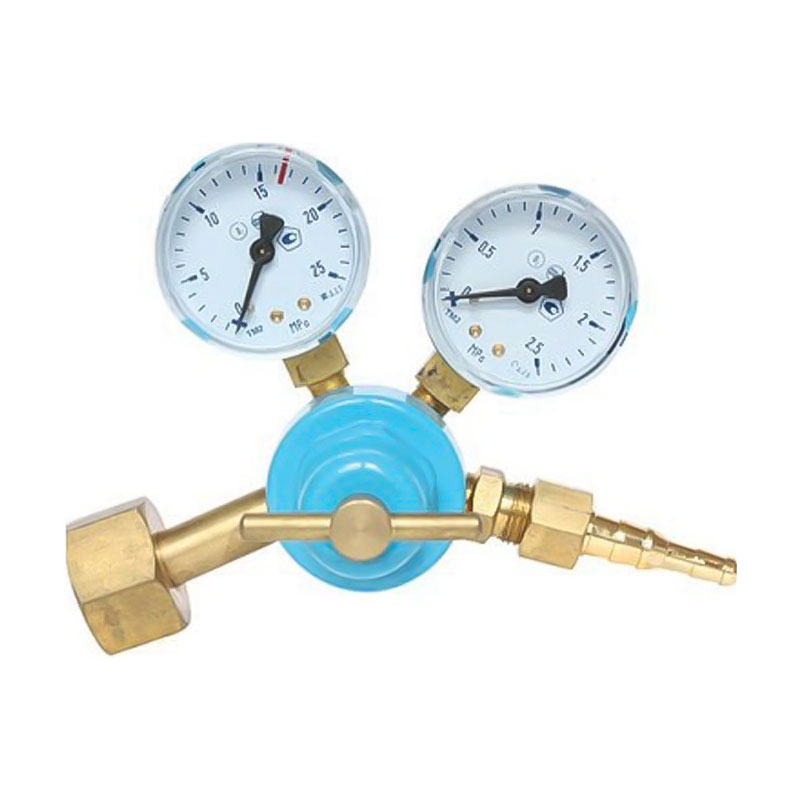 OR-57 High-Safety Multifunctional Oxygen Pressure RegulatorFor oxygen-side welding and cutting, this regulator offers high-safety pressure control up to 25 MPa input and 0–2.5 MPa output, with customizable threads and gauges.View Product →
On the oxygen side, a regulator should deliver steady pressure without creeping. The OR57 is a high-safety, multifunctional oxygen regulator intended for welding and cutting setups where the operator wants clear control and dependable delivery. Pair it with the correct acetylene regulator and a tip chart for the job, not with guesswork.
Carburizing
Feathery inner cone; excess acetylene. Useful for some specialized heating and brazing work, but not the default for steel cutting.
Neutral
Sharp inner cone with no feather. The most common starting flame for welding and preheating before a cut.
Oxidizing
Short, pointed cone; excess oxygen. Use only when the procedure specifically calls for it.
Lighting, Cutting, and a Clean Shutdown
Lighting is a sequence, not a single action. Open the acetylene torch valve slightly, use a striker at the tip, and then add oxygen. If the flame pops or blows away from the tip, close the torch valves and check the tip, pressure, and connections before trying again. Do not chase a unstable flame by opening the acetylene valve wider than the setup allows.
Lighting sequence
- Confirm both regulators are set and the torch valves are closed.
- Open the acetylene torch valve slightly.
- Light with a striker at the tip.
- Open the oxygen torch valve gradually until the flame is correct.
- Adjust the acetylene and oxygen together to reach the desired flame.
Shutdown sequence
- Close the cutting oxygen lever if it is open.
- Close the acetylene torch valve first.
- Close the oxygen torch valve.
- Close both cylinder valves.
- Open the torch valves one at a time to bleed pressure from the regulators and hoses.
- Close the torch valves and back out both regulator adjusting screws.
During cutting, keep the tip at the correct standoff distance and move at a steady speed. A harsh, sputtering sound or a heavy buildup of slag often means the travel speed, tip size, or preheat is wrong. Stop, inspect the cut, and adjust one variable at a time. After the job, coil the hoses without kinking them, wipe down the torch, and store the equipment where the tips and gauges are protected.
If a flashback occurs, close the torch valves and then the cylinder valves if it is safe to reach them. Keep people away, ventilate the area, and inspect the hoses, arrestors, regulators, and torch before returning the equipment to service. A flashback is not a normal event to “burn through.”
Troubleshooting and Maintenance That Extend Torch Life
Most torch problems announce themselves early: a gauge that creeps, a fitting that bubbles, a flame that will not hold, or a tip that keeps popping. Treat those symptoms as maintenance information, not as personality quirks of the torch.
Flame pops or blows out
Check for a loose tip, incorrect pressure, a dirty orifice, or a hose connection that is not fully seated. Let the tip cool before inspecting it.
Delivery gauge creeps upward
Close the cylinder valve, relieve pressure, and have the regulator inspected. A creeping regulator can overpressure the torch and hoses.
Leak at a hose fitting
Depressurize, inspect the seat and threads, and remake the connection with the correct wrench. Replace damaged fittings rather than tightening harder.
Weak or uneven cut
Check tip size, preheat, oxygen pressure, travel speed, and material condition. A worn tip can waste oxygen and produce a rough kerf.
Clean the torch tip with the proper tip cleaner, not a drill bit or a piece of wire that can enlarge the orifice. Keep oxygen fittings free of oil and grease. Store hoses away from heat and sunlight. Have regulators and arrestors inspected according to your maintenance schedule, and replace damaged gauges rather than relying on a “close enough” reading. A durable all-brass regulator such as the AR57 is easier to live with when it is kept clean, protected from impact, and used within its rated range.
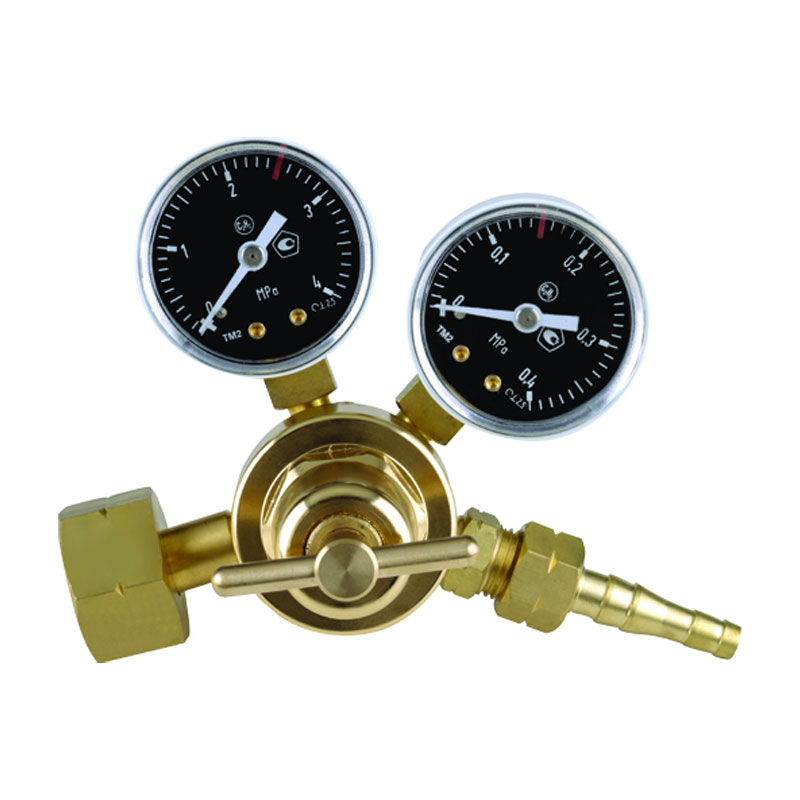 AR-57 All-Brass Heavy-Duty Acetylene Pressure RegulatorFor regular shop handling and high-intensity welding or cutting, this all-brass acetylene regulator is built for stable gas flow, with an economical version also available.View Product →
The AR57 all-brass acetylene regulator reflects a practical shop preference: solid construction, clear pressure control, and a body that stands up to regular handling. Maintenance still matters. Brass resists corrosion, but it does not forgive a dropped regulator, a cross-threaded fitting, or a gauge that has been overpressured.
Frequently Asked Questions About Acetylene Torch Setup
What pressure should an acetylene torch be set to?
Many light welding and brazing jobs start around 5 to 7 psi acetylene, with oxygen set according to the tip chart. Cutting may call for slightly higher acetylene pressure, but acetylene delivery should never exceed the regulator and equipment limit. Many procedures cap it at 15 psi or lower. The torch manufacturer’s chart is the final reference.
Should the acetylene cylinder valve be opened all the way?
No. A common practice is to open an acetylene cylinder valve no more than about one-half turn, so it can be closed quickly if something goes wrong. Open oxygen cylinder valves fully according to the manufacturer’s instructions.
Do I need flashback arrestors on both sides?
Fit flashback arrestors according to your equipment instructions and local requirements. Many shops use them at the regulator outlets, the torch inlets, or both. They reduce the risk of a flame traveling back into the hose or regulator, but they do not replace correct valve sequencing or leak testing.
Can I use soapy water to check for leaks?
Use an approved leak-detection solution. Some soap products leave residue or contain additives that are not suitable for oxygen equipment. Apply the solution to the connection, watch for bubbles, and never use a flame to search for a leak.
Why does my torch pop when I light it?
Common causes include lighting with too much gas, a loose or dirty tip, incorrect pressure, or air in the line. Close the torch valves, check the tip and connections, purge the lines separately, and try again with a lower acetylene setting.
Can I use the same regulator for acetylene and propane?
No. Regulators are selected for the gas, pressure range, and connection type. Using a regulator on the wrong gas can damage the equipment and create a safety hazard.
How often should I leak test the setup?
Leak test before the first use of the day, after changing a cylinder or hose, and after any maintenance. If you smell gas or see a gauge creep, stop and investigate immediately.
What is the correct shutdown order?
Close the cutting oxygen lever if open, close the acetylene torch valve, then the oxygen torch valve. Close both cylinder valves, bleed the pressure from the regulators and hoses using the torch valves, then close the torch valves and back out both regulator adjusting screws.
A calm, repeatable acetylene torch setup comes from treating every valve, hose, and gauge as part of one system. Check the equipment, set pressure deliberately, light with a striker, and shut down in the same order every time. That routine is what keeps a useful shop tool predictable.
Related products
-
-
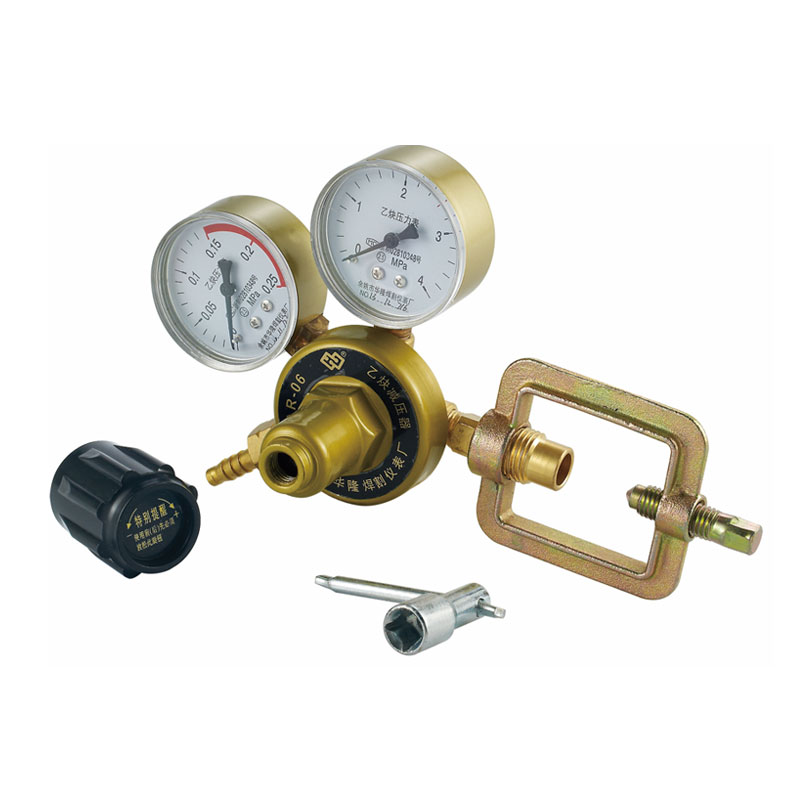
The AR-56 High-Stability Welding and Cutting Acetylene Regulator is designed with a focus on pressur...
See Details -
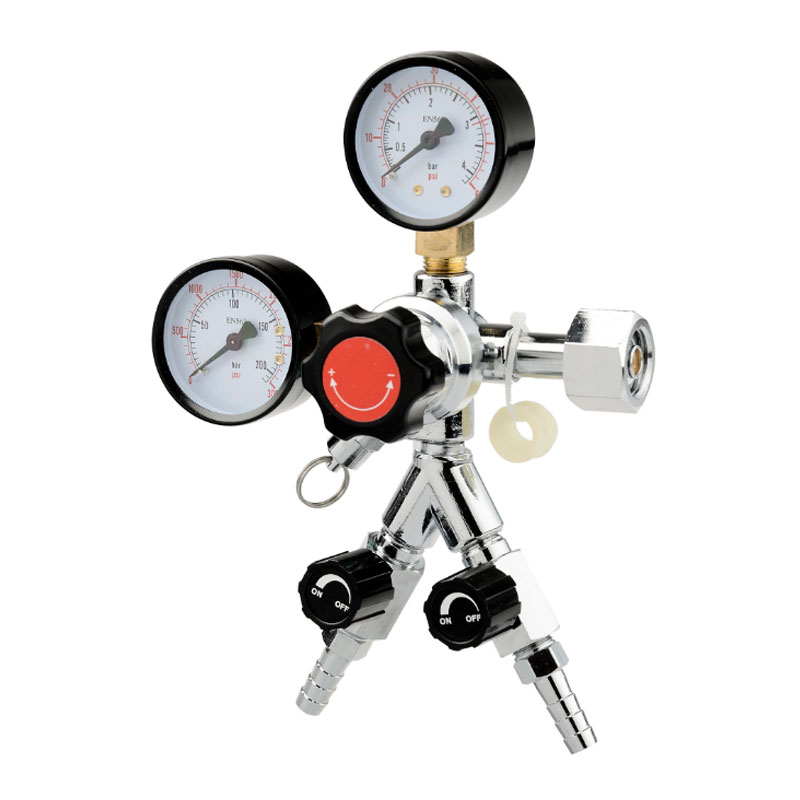
The high-pressure CO2 pressure reducing valve for beer and beverages is a gas control device specifi...
See Details -
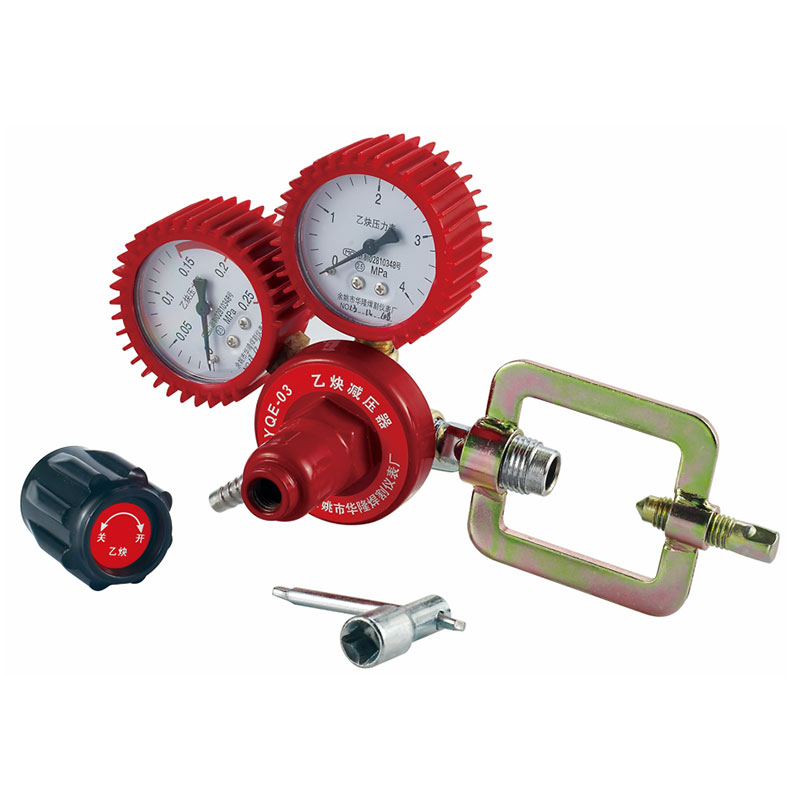
The AR-02 Acetylene Gas Regulator is a pressure control device designed for use with acetylene gas, ...
See Details -
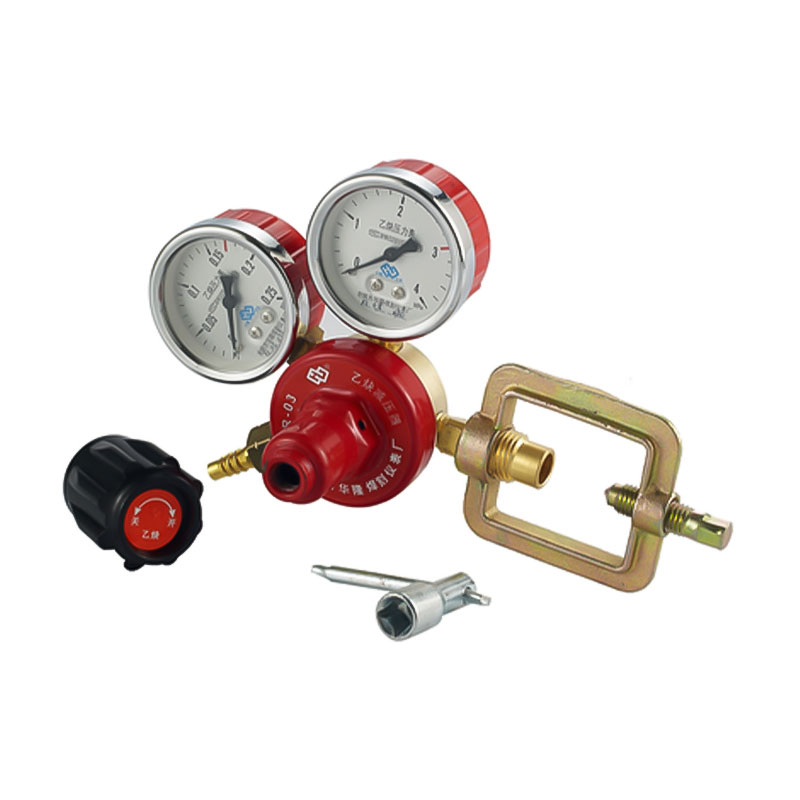
The AR-03 High Precision Acetylene Regulator is a device designed for regulating acetylene gas press...
See Details -

Protective PackagingEquipped with foam cushioning, the regulator and connecting hose are fully shiel...
See Details -
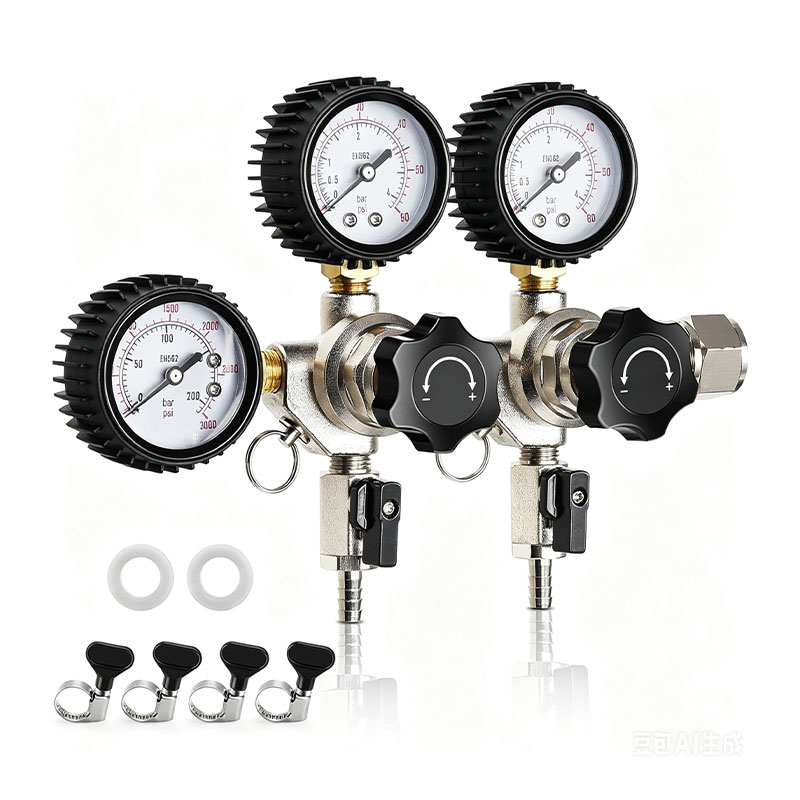
Precise & ClearThis dual-output CO2 regulator fits dual-tap kegerators, beer towers, soda and ko...
See Details -

Constant Pressure & Lockable PSIThis two-stage CO₂ regulator maintains stable output pressure. A...
See Details

- PRODUCTS
- Pressure Regulator for Welding and Cutting
- Aquarium Pressure Regulator
- Beer and Beverage Pressure Regulator
- Pipeline Pressure Reducer
- CONTACT INFO
-
-
+86-180 6927 8236

-
[email protected]

-
No.1358,Tanjialing West Road, Lanjiang Street,Yuyao, 315400, Zhejiang

-
- MOBILE QR CODE

